Table of Contents
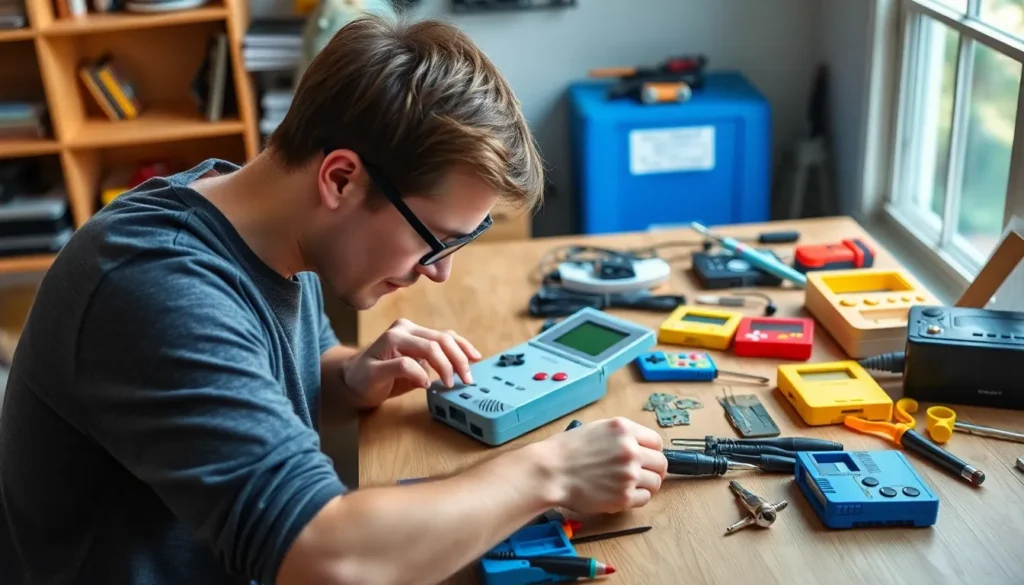
ToggleThe Game Boy isn’t just a handheld console; it’s a beloved piece of gaming history that sparked countless childhood memories. As time takes its toll, many of these iconic devices show signs of wear and tear, leaving enthusiasts wondering how to breathe new life into their vintage gadgets. Game Boy restoration has become a popular hobby, allowing fans to reconnect with their favorite games while preserving the legacy of this classic device.
Restoring a Game Boy involves more than just fixing a few scratches; it’s about reviving the nostalgia and ensuring that these cherished consoles can be enjoyed for generations to come. From replacing screens to cleaning internal components, the process can be both rewarding and therapeutic. Whether you’re a seasoned technician or a curious beginner, diving into Game Boy restoration opens up a world of creativity and craftsmanship.
Overview of Game Boy Restoration
Game Boy restoration involves several essential processes aimed at reviving vintage consoles. Enthusiasts often replace damaged screens with modern alternatives, enhancing display quality and brightness. Cleaning internal components removes dirt and grime, improving functionality and lifespan. Repairing or replacing worn buttons ensures smooth gameplay.
Restoration projects vary in complexity. Some might involve simple cosmetic changes like shell replacements, while others require more technical skills, such as soldering or circuit board repair. Collectors often seek out original parts for authenticity, while others embrace modern upgrades for improved performance.
Participating in Game Boy restoration fosters a sense of community among hobbyists. Online forums and social media groups provide platforms for sharing advice, showcasing completed projects, and exchanging spare parts. These interactions enhance knowledge and creativity within the restoration community.
Tools and Materials Needed

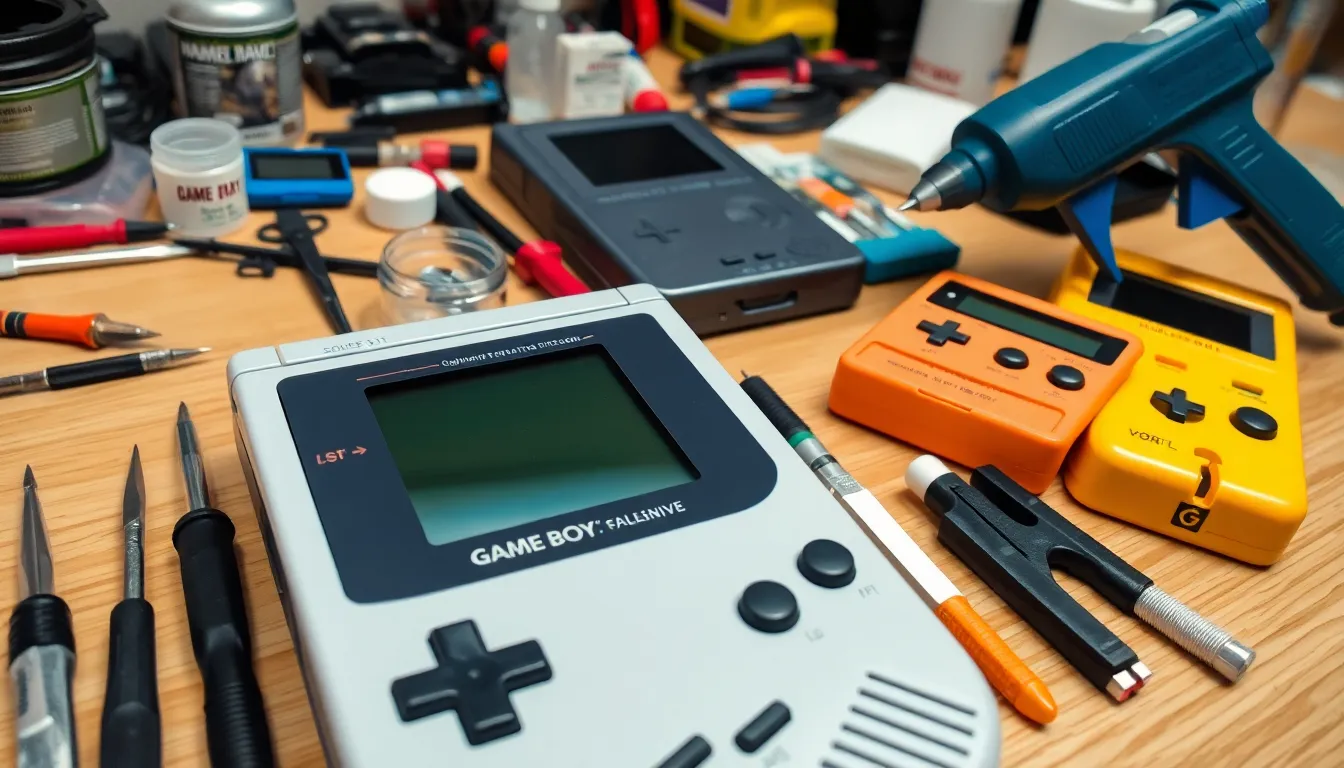
Restoring a Game Boy requires specific tools and materials to ensure successful repairs and enhancements. Below are essential tools and recommended materials for any restoration project.
Essential Tools
- Phillips Screwdriver: A size #00 Phillips screwdriver handles most Game Boy screws efficiently.
- Tri-Wing Screwdriver: A tri-wing screwdriver is necessary for accessing the internal components of certain Game Boy models.
- Plastic Spudger: A spudger helps safely pry open the casing without damaging the plastic.
- Tweezers: Tweezers aid in handling small parts like screws and circuit boards precisely.
- Soldering Iron: A soldering iron is useful for re-attaching components or fixing broken connections.
- Multimeter: A multimeter tests voltage and continuity, ensuring electrical components function correctly.
- Heat Gun: A heat gun assists in removing stubborn adhesive from screens or shell components.
Recommended Materials
- Replacement Screens: High-quality LCD or IPS screens enhance display clarity and responsiveness.
- Button Kits: Replacement button kits restore the feel and function of the Game Boy’s control pads.
- Adhesives: Strong adhesives like epoxy or double-sided tape secure screens and components in place.
- Cleaning Supplies: Isopropyl alcohol, microfiber cloths, and cotton swabs clean internal and external surfaces without damage.
- Capacitors and Resistors: Stocking capacitors and resistors helps replace faulty circuit components during repairs.
- Battery Packs: New battery packs are essential for restoring power to the device for optimal usage.
- Custom Shells: Colorful or themed shells personalize the console and can enhance its aesthetic appeal.
Step-by-Step Restoration Process
The restoration process for a Game Boy involves several key steps. Each action contributes to enhancing the console’s functionality and aesthetics, ensuring an enjoyable experience for users.
Disassembly of the Game Boy
Disassembling the Game Boy requires precision and care. Start by removing the screws from the back casing using a Phillips screwdriver and a tri-wing screwdriver. Gently pry open the casing with a plastic spudger to avoid damaging the plastic. Disconnect the display ribbon and battery connectors carefully to prevent breakage. Document the process with photos to ensure proper reassembly later.
Cleaning Components
Cleaning components enhances both appearance and functionality. Use a soft cloth and isopropyl alcohol to wipe dirt and grime from the exterior. For internal components, use compressed air to eliminate dust buildup. Pay attention to the cartridge slot and speaker openings, as these areas often attract debris. Ensure all components are completely dry before reassembling.
Repairing Screens and Buttons
Repairing screens and buttons directly affects gameplay quality. For screen replacements, remove the broken screen by disconnecting it from the motherboard. Install a high-quality replacement screen and reconnect the ribbon cable securely. For buttons, replace worn rubber pads and button membranes to improve tactile feedback. Test the buttons’ responsiveness before proceeding with reassembly.
Reassembly Techniques
Reassembly techniques ensure a tight fit and restore the console’s integrity. Align the front and back casings properly, ensuring all internal wires are secured to prevent pinching. Replace screws in the order removed to maintain structure. After closing the casing, conduct a thorough test of functionality, verifying that all inputs and display elements work correctly. Adjust if needed to achieve optimal performance.
Tips for Successful Restoration
Successful restoration of a Game Boy requires attention to detail and a careful approach. Considering common mistakes and following best practices ensures a higher quality outcome.
Common Mistakes to Avoid
- Ignoring the Manual: Ignoring the original manuals or guides can lead to improper disassembly or assembly. It’s crucial to reference guides specific to the Game Boy model being restored.
- Rushing the Cleaning Process: Rushing cleaning tasks often results in dirt or debris remaining in crucial areas. Taking time to clean every component thoroughly enhances the console’s functionality and aesthetics.
- Using Incompatible Parts: Using inappropriate or incompatible replacement parts can lead to further damage or impaired functionality. Always verify part specifications and compatibility with the specific model.
- Over-tightening Screws: Over-tightening screws during reassembly can strip the threads or crack the casing. Applying the right amount of torque ensures a secure and intact assembly without damaging components.
- Skipping Testing Phase: Skipping testing between restoration steps increases the risk of overlooking issues. Regularly testing functionality helps identify problems early, allowing for prompt adjustments.
Best Practices for Longevity
- Store Properly: Storing the Game Boy in a cool, dry location avoids moisture accumulation and temperature fluctuations that can damage internal components. Consider using a protective case for extra safety.
- Regular Cleaning: Regular cleaning of buttons, screens, and exterior surfaces keeps the Game Boy looking new and functioning properly. Use appropriate cleaning supplies and avoid harsh chemicals.
- Limit Battery Usage: Limiting battery usage when not in play reduces wear on the battery components. Remove batteries during long-term storage to prevent leakage and deterioration.
- Use High-Quality Parts: Investing in high-quality replacement parts ensures durability and enhances performance. Original manufacturer parts are ideal, but reputable aftermarket options can also be effective.
- Practice Gentle Handling: Practicing gentle handling prevents unnecessary wear and tear. Avoid dropping or jarring the unit during gameplay to maintain its structural integrity.
By avoiding common mistakes and following best practices, restoration enthusiasts can ensure their Game Boy remains functional and enjoyable for many years.
Restoring a Game Boy is more than just a hobby; it’s a way to connect with gaming history and share that passion with others. Enthusiasts not only breathe new life into these iconic devices but also create a vibrant community where knowledge and creativity flourish.
With the right tools and a bit of patience anyone can embark on this rewarding journey. Whether opting for original parts or modern upgrades every restoration project offers a unique opportunity to personalize and enhance these beloved consoles.
As more gamers dive into restoration the legacy of the Game Boy continues to thrive ensuring that future generations can experience the magic of this timeless gaming classic.


